Install Clickvote client library
As of now, we have client library only for React. More coming soon. Get started by installing Clickvote React library:Sign up to Clickvote cloud
Create a free Clickvote account (no credit card required).
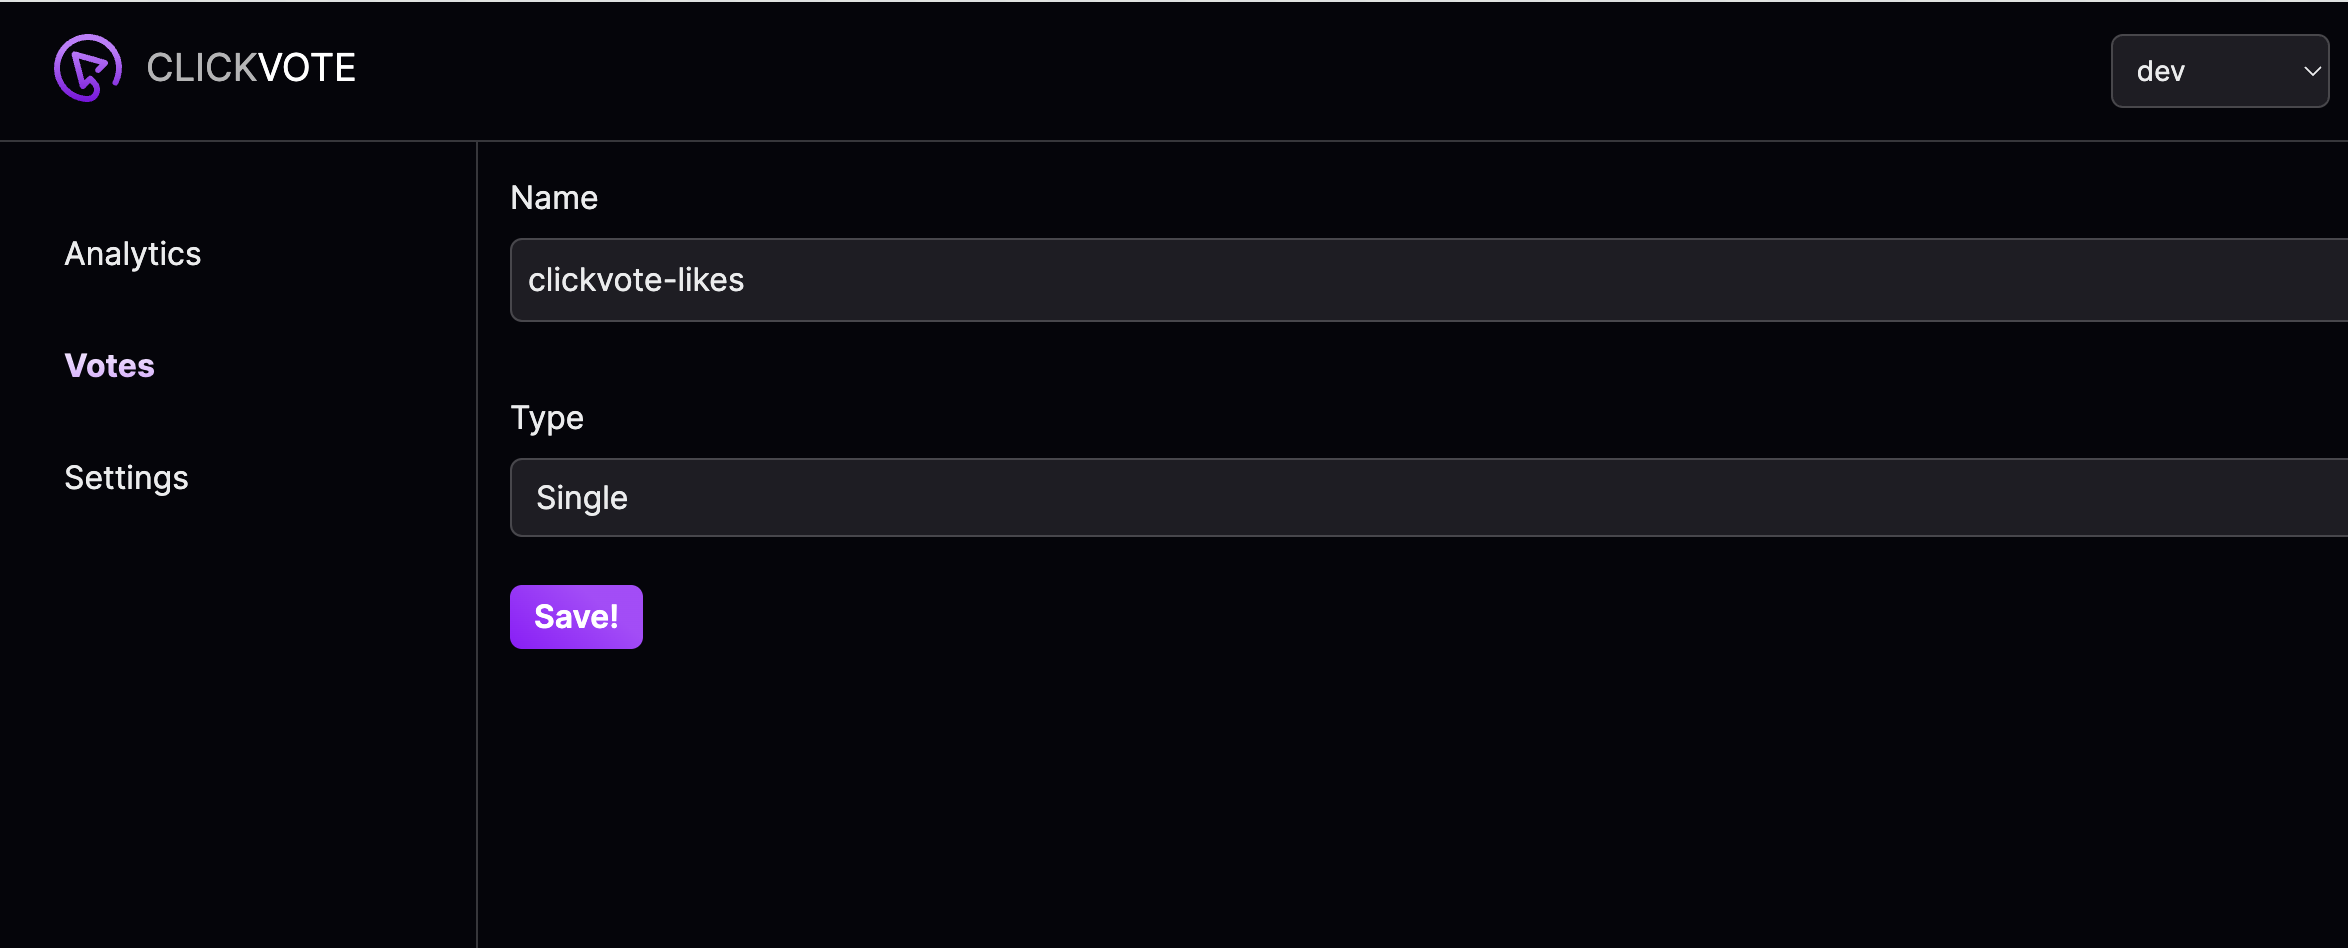
Create a new vote
Go to votes page to create a new vote. Click on aAdd Vote button.
Save.
Integrate Clickvote into a website
After you saved the vote, you should see this page: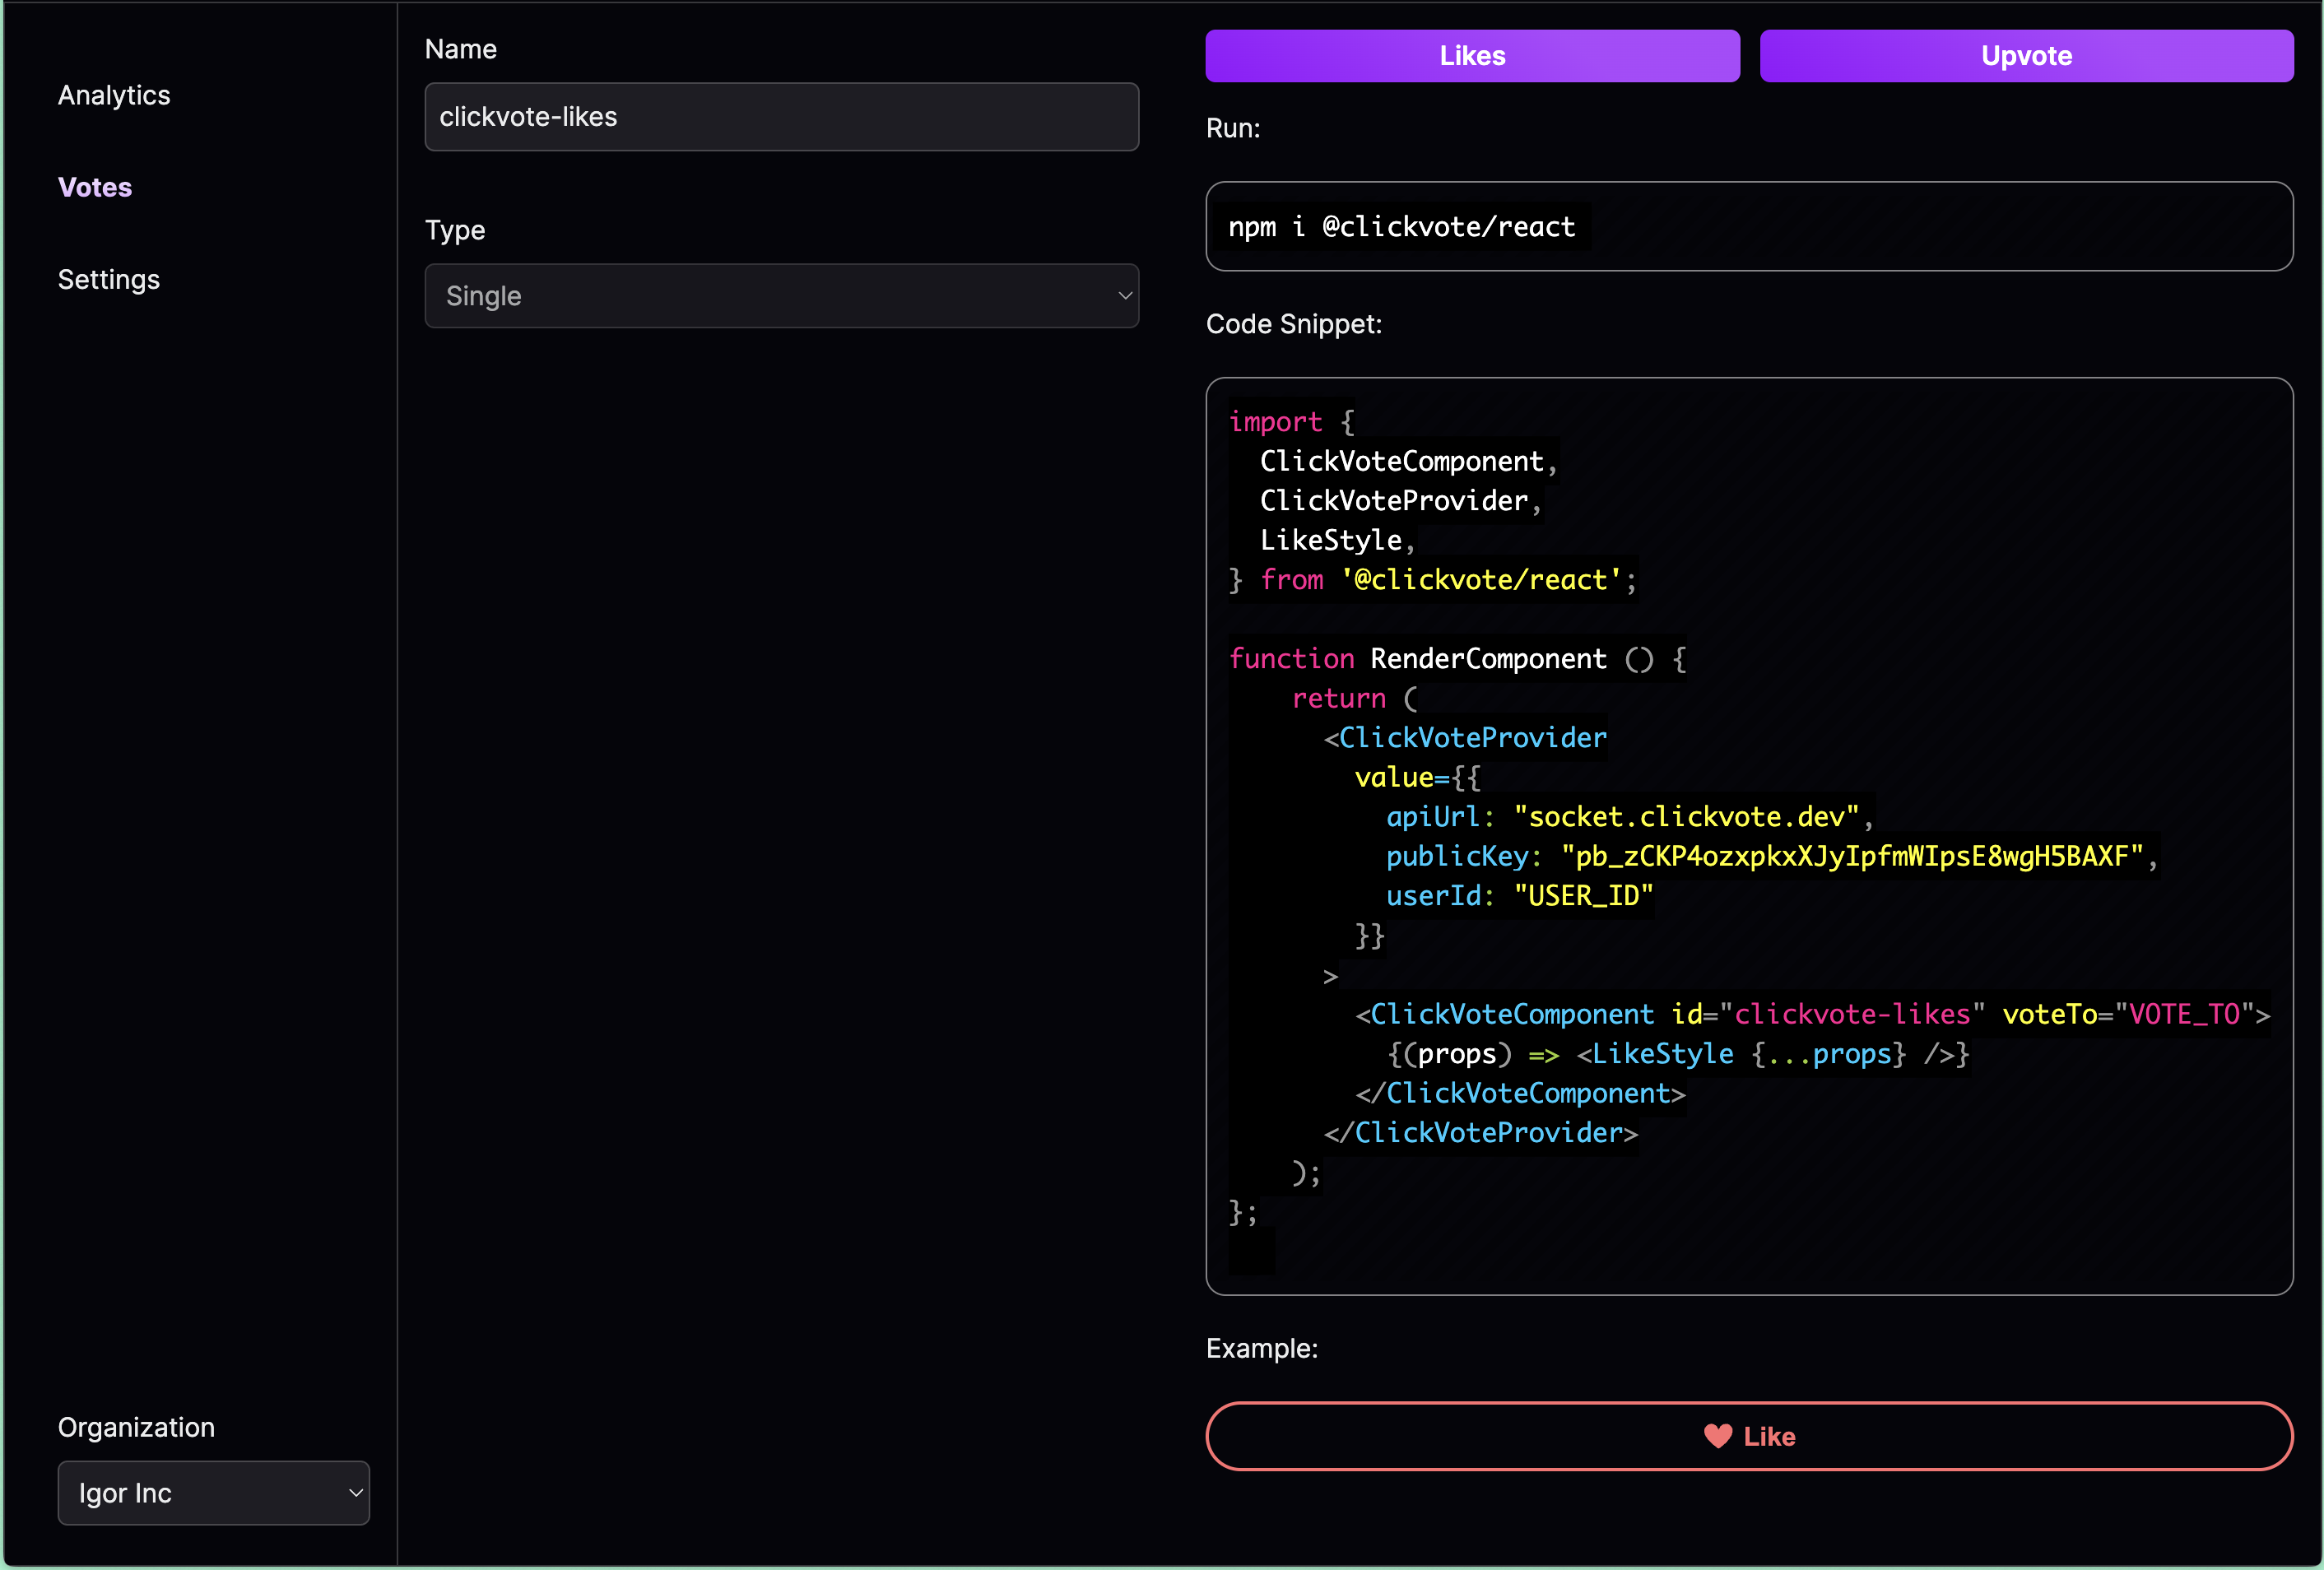
Vote actually refers to a group of votes. So for instance, we want to include likes component on every page of Clickvote website.
Obviously, we don’t need to create a new vote for each of the pages.
All the components will share the same id, but they will have different voteTo. Basically, voteTo indicates an item inside of vote group.
It can be any string, for example name of the page or URL:
userId. Currently Clickvote requires it to identify user and prevent the same person from doing multiple votes.
After you added this snippet to your website, you should see a live clickable component.
Yay, you just integrated Clickvote into your website!